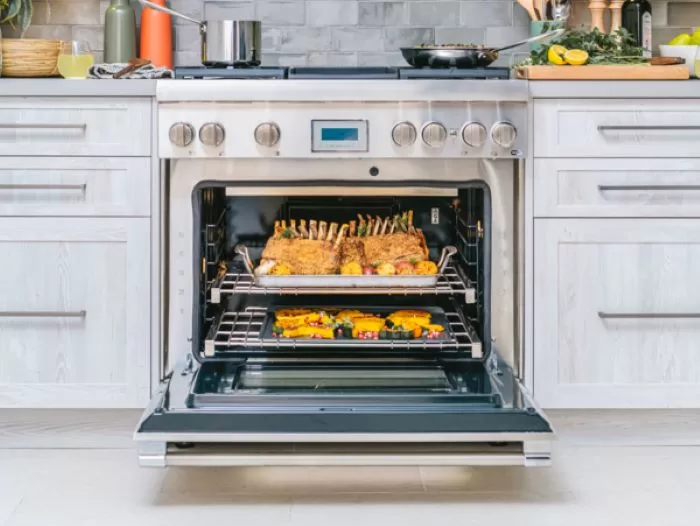
Repairing Your Thermador Oven: A Complete Step-by-Step Guide
Are you facing any challenges with your trusty Thermador oven? No need to worry! Our comprehensive guide is here to assist you in troubleshooting and resolving common issues that may hinder your cooking experience. Whether you’re dealing with uneven cooking results, faulty igniters, or self-cleaning malfunctions, our team of experts has compiled a treasure trove of valuable tips and techniques to ensure that your oven’s flawless baking functionality is restored to its prime state. Say goodbye to kitchen mishaps and welcome a world of delectable meals! Rest assured; you can rely on us for all your Thermador oven troubleshooting requirements. We’re here to help you make every cooking venture a success!
Diagnosing Oven Problems
Uneven Cooking? Let’s Tackle It!
If you notice your dishes aren’t cooked evenly, it’s crucial to investigate and find solutions. Start by checking if your oven racks are correctly positioned. Adjusting the rack height can greatly improve cooking consistency. If the problem persists, do some further troubleshooting. Consider recalibrating your oven’s temperature settings to address any deviations. Small temperature differences can have a significant impact on your cooking results. You can consistently achieve perfectly cooked dishes by paying attention to these details and taking the necessary steps. Remember, troubleshooting is vital for optimal cooking!
Oven Not Heating Up? Igniter Might Be the Culprit
Having trouble with your oven not reaching the desired temperature? A faulty igniter might be the culprit. To check, turn on your oven and observe the igniter. If it fails to glow or takes excessive time to ignite, it’s time for a replacement. And don’t forget; safety comes first—always disconnect the power before attempting any repairs.
Repairing Common Issues
Replacing the Igniter: A Step-by-Step Guide
- Ensuring safety:
Prioritize safety by turning off the oven’s power supply. Verify that the oven has cooled down before proceeding. - Accessing the Igniter:
To access the igniter, carefully remove the oven racks and the bottom panel. This will provide clear visibility and easy reach to the igniter. - Detach Wiring:
With caution, disconnect the wiring from the old igniter. Take note of the wiring connections and make sure to handle them delicately. - Removing Mounting Screws:
Locate and unscrew the mounting screws that secure the igniter in place. Be gentle while removing the old igniter from the oven. - Installing the New Igniter:
Take the new igniter and position it properly within the oven. Securely fasten the igniter using the mounting screws. Ensure proper connections by reconnecting the wiring to the new igniter. - Reassembling the Oven:
Retrieve the bottom panel, racks, and any other previously removed components. Carefully reassemble the oven, ensuring everything is fitted correctly back into place. - Testing the Oven:
It’s time to test the new igniter! Turn on the oven and carefully observe the igniter. It should start to glow within a minute and effectively ignite the gas, confirming its successful installation.
Following these detailed steps, you can easily replace the igniter in your oven, ensuring optimal performance and functionality. Enjoy your improved cooking experience!
Preventing Future Issues
Regular Maintenance: The Key to Longevity
To maintain optimal oven performance, it is crucial to follow these essential steps:
1. Keep It Clean: Take the time to regularly clean your oven, both inside and out, to prevent grease and residue buildup. Not only does a clean oven ensure better cooking results, but it also helps in extending its lifespan.
2. Check Door Seals: We strongly advise regularly examining the door seals to detect any indications of wear or damage. Damaged seals can compromise the oven’s efficiency by causing heat loss and uneven cooking. By promptly addressing any issues with the door seals, you can ensure that your oven operates at peak performance.
3. Calibrate Temperature: Periodically calibrating your oven’s temperature is essential for accurate cooking. Slight deviations in temperature can lead to inconsistent results. Using a reliable oven thermometer can assist you in gauging the accuracy of the temperature and making any necessary adjustments.
These simple but crucial steps can enhance your oven’s performance and help you enjoy delicious and evenly cooked meals.
Conclusion
If you need professional appliance repair service in the area, look no further than Appliance Cowboys! Our highly skilled team of expert technicians, equipped with years of experience, is ready and prepared to tackle any job, no matter the complexity. We are dedicated to ensuring that your appliances function smoothly and optimize for peak performance. With our comprehensive knowledge and attention to detail, you can trust us to deliver top-notch service that exceeds your expectations. Don’t wait; book an appointment with us today and experience the convenience of a perfectly functioning Thermador oven!

